doddl explain how to introduce cutlery to your baby
So you’ve started weaning your baby by whatever method works for you, baby-led weaning, spoon-fed or a combination of both. Now your baby has had those first tastes and grasped the idea of food, you might start thinking about introducing cutlery to your little one.
Our friends at doddl make mealtime products that are engineered to be intuitive to use, and designed so your child can eat independently within minutes. It’s important to really consider the kind of cutlery you introduce to your child - for example, short contoured handles make it much easier for babies to control, making it less stressful for you and helping create an environment of success right from the start. Find out more. Once you have your cutlery, you’re all set to go!

Here, doddl takes you through some useful steps to introducing cutlery to your baby…
1. Start with the spoon
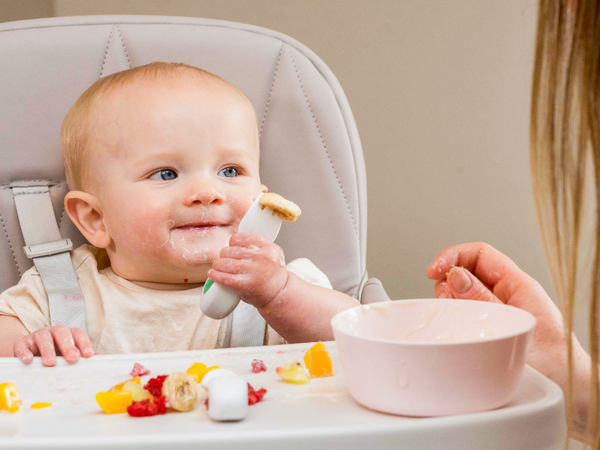
At every mealtime, try placing the spoon next to your toddler’s food, the right way round with the handle facing them. Even if at first they don’t take an interest, you’ll be surprised at how quickly they grip the spoon and start trying to use it in their food. (It might get waved around a bit first!)
You can tick this off when… your baby grips the spoon and holds it in their hand.
2. Pre-load the spoon
Pre-loading the spoon helps your baby to realise that the spoon is a tool to get food from A to B! Lay the spoon down in the same way as step 1 above, but pre-load it with something like a puree or yoghurt. Choose a texture which won’t slide off the spoon as it makes its wobbly way to your baby’s mouth!
You can tick this off when… your baby manages to navigate picking up the spoon and delivering some food into their mouth.
3. Super scooping
Choose some food in a texture that’s easy to scoop (porridge, purees, or yoghurt), and encourage your baby to load the spoon themselves before delivering it to its destination (we’re aiming for mouth not floor here - but practice makes perfect!).
You can tick this off when… your baby scoops, then gets that scoop into their mouth successfully. Big cheers!

4. Introducing the fork
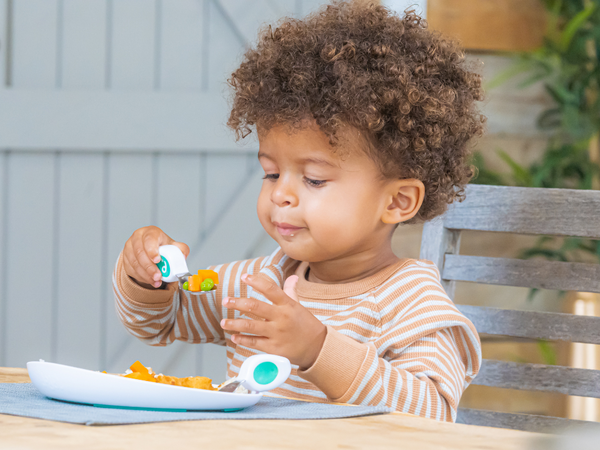
Once the spoon has been mastered, now it’s time to think about adding in the fork. Use the same technique as number 1 here, but this time with the fork. Lay the fork down next to the food, right way round and with the handle facing them. Your little one will soon learn that using a fork offers a whole host of other options for moving food around and into their mouths! Offer soft, solid pieces of food (served the right size to avoid choking) for them to skewer with the fork and move into their mouths.
You can tick this off when… a piece of fruit, or vegetable, or whatever food you choose, has been successfully skewered and posted into your baby’s mouth.
5. Tricky liquids
This counts as advanced cutlery usage! Encourage your baby or toddler to use the spoon for getting liquids from a bowl into their mouth – soup, milky cereal, fruit with juice, that kind of thing.
You can tick this off when… spoon can go from bowl to mouth without major spillage (a hard task - and one which some of us can’t even master in adulthood!)
6. The cutting edge – introducing the knife
Introducing the knife comes a little later. At times it's probably unimaginable that you can give your toddler a knife, but it can offer real independence at mealtimes, and with doddl, you can relax. The doddl toddler knife is certified safe, so you can rest assured that it will only cut food, not skin. The specially engineered design means that it fits into small hands perfectly. At the start you can place your hand over your toddler’s hand and help to push down through food to cut it. Help by making the first slices into a soft food like a banana. It won’t be long before they can do it without any help from you at all!
You can tick this off when… your toddler can slice a chunk of food into two (or three or four)
7. All the fun of the dip
Spoon and fork skills – mastered! Now it’s time to move on to the advanced level – the dip. Anything goes, sweet or savoury, but it’s time to discover the joys of skewering then dipping before popping that dipped food into their mouth. Gravy, ketchup, egg – any dips will do! And all this is fantastic for those fine motor skills, helping with co-ordination and dexterity.
You can tick this off when… food is successfully dipped then find its way to your toddler’s mouth – spillage is allowed!

8. A two-handed approach
Babies and toddlers often don’t have one favoured hand at the start, but you probably notice that one hand is doing more of the work, whether that’s with the fork or the spoon. Try to encourage the other hand to do some of the work too, even if it’s still one hand at a time.
You can tick this off when… both hands are joining in, even if it’s not at the same time.
9. It’s all coming together
After a while, your little one will develop skills and understanding to use two pieces of cutlery together. This might be the fork and spoon, or knife and fork, or spoon and knife. Any combo is great news.
You can tick this off when… when one piece of cutlery is helping the other to move food around and into their mouth.
10. Winner, winner, eat your dinner
You can dance around the room and cheer, when you’ve got to this stage, when it all comes together and cutlery is all used correctly and consistently. Your toddler knows how to use each one and the cutlery is a help, not a hinderance at mealtimes.
You can tick this off when… peas are pushed onto forks or spoons, potatoes are held fast by the fork then cut with the knife, and gravy is scooped up with spoon. Hurrah!

doddl created this useful checklist for mealtime milestones, which can be downloaded here.
doddl would like to offer you 10% off across the doddl store (at doddl.com) with code doddllearning10. Happy shopping!


